Wednesday 13 December 2017

I Miss You

Good afternoon everyone ,Sharing another project with you today from Tonic Studios Corner die sets available as a weekday wonder on Hochanda.
 Materials used:'
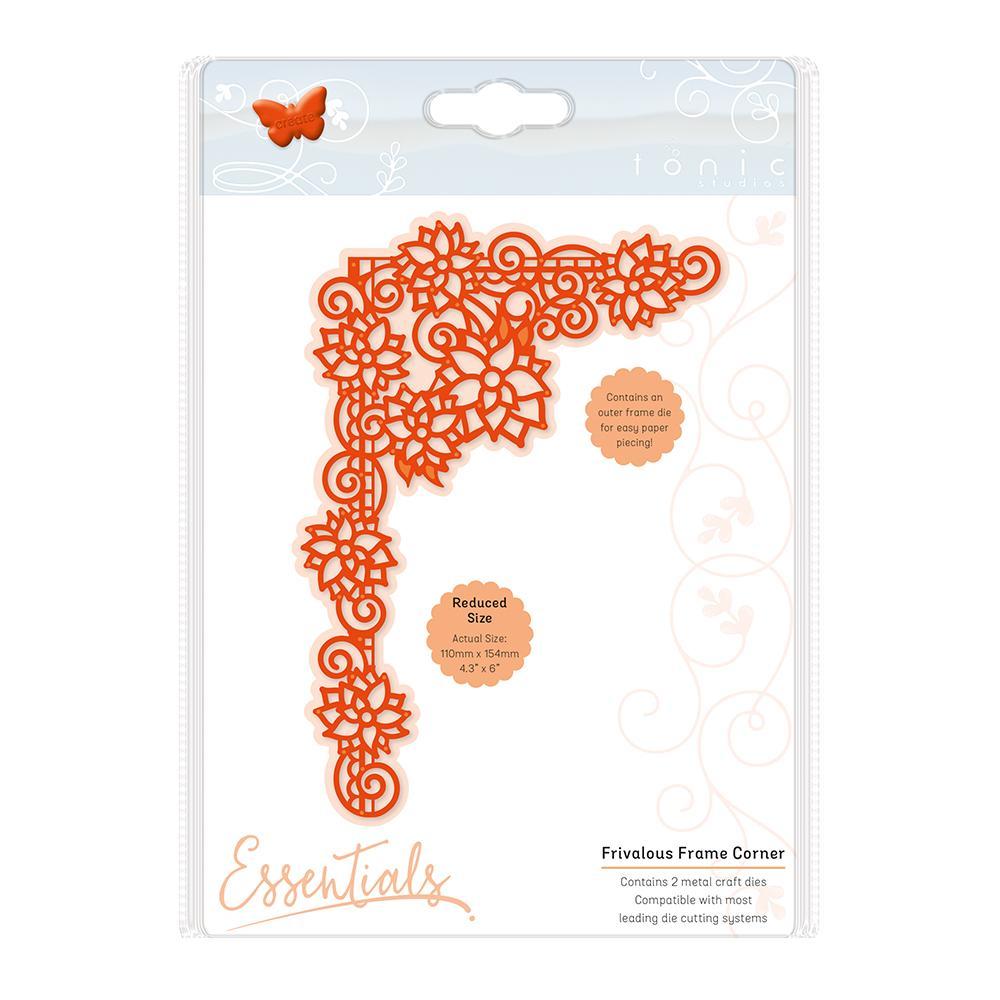
Frivolous Frame corner die set
Shadow box die set
I miss you sentiment
Crystal drops - black 
Pink satin ribbon
Jet black craft perfect card stock
Bright White craft perfect card stock 
Silver mirror craft perfect 
Fuchsia pink craft perfect

This is a very quick home decor project idea for a quick gift just to let that special someone in your life know they are being missed.
The shadow box is made up with black craft perfect with the hanging  attached to the back with pink satin ribbon threaded through ,the I miss you sentiment is die cut in silver Mirror craft perfect and then die cut again in black craft perfect slightly off set to create a slight shadow. You will need to cut two of the frivolous  frame in the pink craft perfect for the base and then again with the detail in silver Mirror and Bright  white craft perfect card stock.one of the corners is glued flat as a complete corner the other corner has been snipped short ,free hand with scissors very easy to do just to follow the curved edges to shorten the design these are then added just slightly over the edges of the shadow box and then add the Crystal black drops to the centre of each flower.finishing with cutting a small flower from the die cut and back with black card stoch cut out freehand and attatch to the centre of the bow.


Thank you for joining me today

Until next time

Tuesday 12 December 2017

Monochromatic

Good afternoon everyone,sharing a monochromatic  card with you today with just a tiny hint of colour,I don't know about you but I do love monochrome cards and boxes and it's been a while so that's the thought for today's card clean simple .
Today's card is from Tonic Studios Corner die sets launched yesterday on Hochanda as a weekday wonder a few have sold out as single sets but the complete collection there are 5 sets and each set has two dies a detail die & the backing die,I absolutely  luv the verso plus edge dies gives you more versatility.

Materials used:-
 Exquisite Nook Corner die set-up 
English picnic layering die set
Forever my fried - Flip Flop die sets
Black craft perfect
Bright White craft perfect
300gsm white base card stock
Red berry crystal drops
Gingham ribbon
Button embellishment
The card base is made using the English Picnic die set cutting 2 the same size and putting a score line across the back of the card this gives you a glue tab to adhere  the front of the card and then using the next size down in the dies for matting and layering , the back panel is cut from the top layer of the card you will be keeping the  top layer then you need to cut the detail out of the backing piece you have  , then adding the die cut detail back ito the card it gives you a slight border.then with red Berry Crystal drops add to the centre of the flowers. Add the sentiment from the Flip Flop die sets cut in silver Mirror card and red craft perfect and glue slightly off set to create a shadow effect and then place a black & white Gingham bow to the top right corner and with a hot glue gun add a small red button and then  drape the ribbon down and across the card. 
Very simple card to create ,great when your in a rush and hubby comes home can I have a card for the morning .

Thank you for taking the time to visit my blog today


Monday 11 December 2017

Romanesque Bracket

Good afternoon everyone,hope you are all keeping warm with this snow we have had over the last few days.
Today I am sharing a brand new launch with you from Tonic Studios with the beautiful Corner die sets,there are 5 sets in the complete collection all with 2x dies in each set a detail die and also a backing plate.
The card I am sharing with you today is the Romanesque Bracket corner die set.
Materials used :-
Corner die set-up Romanesque Bracket 
Beautiful day sentiment - sew pretty
White 300gsm base card stock
Craft perfect pistachio green
Craft  perfect Bright white
Craft perfect pink Blossom
Crystal drops - forest green
Tim Holtz distress- ink Spun Sugar
Wide pink organza ribbon


The card base is  8" x 8" with mat & layering, you then need to cut 4 of the backing die from the Romanesque Bracket corner set in pistachio green craft perfect and then die cut 4 of the detail die in Bright White craft perfect card stock these clue flat using Nuvo deluxe glue you then need to cut the detail out in pink craft perfect card but just use your scraps as you only need to cut the flourish bits to paper piece back into the die cut using wet glue.
The 4 corners are then added to the card base with 3D foam pads
Now cut the centre die out in craft perfect Pink Blossom and Bright White and with a blending sponge slightly distress with Tim Holtz spun Sugar which is a very pale pink distress ink then add the Have a beautiful day which is from the sew pretty range of dies and this needs to be die cut in silver Mirror craft perfect and also Pink craft perfect.
To finish the card a pink organza bow was added and a large Nuvo Crystal drop,to make the larger Crystal drop I used a piece of double sided sticky sheet the bit you throw away and placed a large drop on to the sheet and left to dry over night and then placed a little hot glue onto the reverse and stuck to the bow then finished the card by adding a few drops to the flourish detail of the die set.


Thank you for visiting my blog today
Be sure to click on Tonic Studios blog, link can be found on the right hand side of my blog to see all the samples for the shows and you will also see the Tonic Studios DT &  links to there blogs


Friday 8 December 2017

Thank you

Good afternoon everyone,Sharing another card with you today from Tonic Studios Floral Affections Die Sets.
Materials used :-
Floral Affections- Thank you Blossom
Twisting Veranda die set
Celtic dreams die set
Bright White craft perfect
Cornflower blue Craft perfect
Bakers twine
Nuvo Glitter drops- Blue Lagoon


The card base was created cutting two of the largest die in the Celtic Dreams die set and scoring the back piece to create a hinge to adhere the front part of the card, the back piece has the bottom slightly trimmed off so the card can stand up without changing the look of the front of the card.
You will need to cut out the plain layer from the Twisting Veranda die in bright white craft perfect then with a pencil draw around the outer edge of the same die onto cornflower blue Craft perfect card and trim free hand with scissors this gives you a slight border. Before sticking these two pieces together you need to cut into the white layer with the floral affections set- and cut the striped detail into the card.then glue them flat together.
Now to cut the outer detail of the card you will need to cut 4 of the hearts out and cut the centres out so you have 4 shaped apature hearts  these glue to the Twisting Veranda set on the corners so it looks like a giant flower this is then glued to the card base.  You will then need to cut the smaller heart out in the same colours keeping the card very fresh and clean lines.the two centre hearts are added with 3D foam pads to add depth and dimension to the card and for a finishing touch added bakers twine in the same colours with a little button,adding  detail with  the glitter drops.

Thank you for taking the time to visit my blog today if you feel like you would like to follow me there is a follow button on the right had side of my blog xx 

Thursday 7 December 2017

Today is the day

Good afternoon everyone, sharing a brand new launch with you today from Tonic Studios - Floral Affections Die Sets available from Hochanda.There are 3 very pretty Heart sets in the range and also an Ornate Easel to stand a beautiful card or the heart.

Material used:-
Today is the Day Floral Affections
Ornate Easel Die Set
Art Nouveau layering die set
Flowers from Kalidescope die set
Oval layering die set
300gsm white base card
Bright white craft perfect
Cream craft perfect
Burnished Rose Satin mirror craft perfect
rose gold Mirror craft perfect
Pink Satin ribbon
Rose embellishment
Bubblegum crystal drops


As you can see the card can be made with or without the Ornate easel .
The card base was made cutting two of the largest  dies in the Art Nouveau sets and score the back panel across about 1" down that will be the hinge to stick the front panel to using wet glue.
Now you will need to cut the front panel in Burnished rose gold mirror card and cut the deatil out in the  top white layer and glue flat.The heart base is cut in Burnished Rose gold satin Mirror and the next plain heart in craft perfect Cream then adding the detail in the satin card again. The centre heart is cut from both Rose gold Mirror card and the Burnished Rose gold satin card stock. This is stuck down with 3D foam pads.
Then adding a little decoration to the card you will need to add a pink satin bow and handmade flowers using the two flower dies from the Kaleidoscope box die sets finishing adding crystal drops to the centre.
These are absolutely stunning die sets and can be used for any occassion , home decor cards , scrabooking, hanging decorations its only limited by your imagination ,if you scroll to the left side of my blog all the Tonic Design team members are listed there and Tonics blog so you can find all the stunning samples on the shows and all the details available.

Thank you for visiting my blog today i will be sharing more detailed blog posts over the weekend with you all xxx

Alluring Perfume Bottle gift boxes