Friday 23 March 2018

For you

Good afternoon everyone, Wow!! A brand new launch from Tonic Studios  with the stunning Dimensional detailed bags I have to say this bag is stunning and so easy to put together the die really does do all the work for you ,all I will say is that if you really want this die don't hang around as the stock is flying and I am not surprised.
Materials used :-
Rose petal gift bag
Craft perfect Ivory card stock
Cream base card stock
Gold satin craft perfect 
Chilli red Craft perfect
Red Nuvo Alcohol pen 
Red satin ribbon 
Aqua flow glimmer pen

 The bag base is made with a heavier weight card stock about 240gsm  the gold detail was die cut out of  craft perfect golden Satin card sock then the plain layer of ivory underneath is placed but not glued over the top and with a Red Nuvo Alcohol  pen colour in the roses in the design and then go over the top with Aqua flow glimmer pen it doesn't matter if you go over the golden layer as you can use this as a template and then cut yourself another detailed panel in gold but I didn't need to do that as the spaces to colour are not to small once all the panels are coloured glue them in place on your box before you glue the base together its easier to assemble flat don't forget that all the detail to the sides are decorated the same way .once the bag is made up you will need to die cut a decorative tag in cream and red and add the sentiment for you in gold and cream card stock add a matching bow with a rose cut from the detail die in gold and cream what a perfect gift to give to anyone for any occassion.


Thank you for joining me today 


Keep crafting


Wednesday 21 March 2018

Thank you

Good afternoon everyone and welcome to my blog, today I am sharing a couple of cards with you ,created with Tonic Studios Brand new die sets launched last night at 6pm on Hochanda, join Jodie at 5pm today for more demonstrations and inspirations as well as all the beautiful samples from the  very talented DT.
Materials Used:-
Victorian Bloom Edge Die Set
White 300gsm card stock 
Bright White craft perfect
Black Craft perfect
Blushing  pink pearlecent  craft perfect
Speciality card - salmon embossed card
Flourish from beautiful blooms
Flower from Tonic craft kit 5
Ebony black gloss Nuvo drops
Thank you sentiment
Scalloped oval layering die set


The card is made from A4 card making sire you use the cutting edge die that has an embossed end this will form the easel  for your card you will need to find the centre point of you card and with a pencil mark each end so you can line up the outer edge die to each mark to get the card level this will then partially cut the shape to the top but stays in the card the sides then fold down allowing you to cut  another base shape in in the  blush pink pearlecent card you will need to cut the  the shape using the outer cutting edge die pass it through the die cutting machine and then cut the other side you will do this again in white and black as you will be cutting the detail out of the white layer and also the black layer these 2x layers will have a slight drop shadow these will all be glued flat to the card  but first you need to add the  base layer of black craft perfect and then layer with the gorgeous  embossed Salmon  card. Then the centre of the die has the basic layering ovals added with foam pads and then a drop shadow sentiment matching all the colours through the card, to finish a flourish and a daisy flower was added & also a decorative bow and not forgetting the ebony black gloss Nuvo drops. A card for any occasion.


Materials use:-
Swirled Lace Edge Die Set
300gsm base card cream
Craft perfect Ivory
Craft perfect Navy Blue 
Polka dot navy decorative paper
Happy Birthday Sentiment
Speciality card golden Satin Embossed Card
Narrow Gingham ribbon
Flower embellishment
Honey gold Glitter drops


This card was created using a piece of A5 card with an extra 1 inch added as a spine  this is then wrapped around a base card  with mat and layers adding decorative polka dot paper.
Once the outer edge has been cut from the front of the card you need to cut the detail and then this layer is backed with Navy craft perfect using wet glue. Add a length of ribbon to the card and add a triple bow adding an embellishment to the centre.
 The detail in this die is stunning and as you can see the detail die was cut again with the gorgeous  golden embossed card and then elements were added to the detail to paper piece which i think just adds that bit of luxury to the card and a card you could send to male or female.
The card was then finished off with the honey golden glitter drops.

Thank you for taking the time to visit my blog today

Until next time xx


Tuesday 20 March 2018

For you

Goods afternoon everyone, Tonic Studios have a brand new launch this evening on Hochanda at 6pm with  the decorative Edges die sets ,there are 3 die sets in this collection and if you like detailed and lacy then you will luv these dies ,todays card i am sharing is the Edwardian flower and its beautiful there are so many ways to use these dies and if you hop over to Tonic Studios FB page or blog you will be able to see all the beautiful samples from the DT.

Materials used :-
Edwardian Flower decorative edge die set
For you sentiment
Wings and things Monarch & Princess wings set 
White 280 gsm card stock 
Craft perfect ocean blue card stock 
Craft perfect Silver glitter card
Wide chiffon ribbon
Nuvo Crystal drops - Caribbean Ocean
Nuvo Crystal glitter drops Aquatic Mist

The card is made from A4 card stock scoring the card in half to create an A5 card blank then score the back of the card in half again the front of the card has the outer edge die placed down the edge of the card and die cut this gives you the shape of the die to the edge of the card blank  you then need to cut the backing with the craft perfect  Ocean Blue  card stock and then repeat with white card stock but add the detail die and die cut. This is then all glued flat and then it lines up with the outer edge  your created on the card blank. Then add the sentiment to the centre ,now die cut two  butterflies from the wings and things collection cut the detail in  Ocean Blue   CP card stock and then glue flat with wet glue to glitter card this needs to be held in place for a min or so so the glue grabs to the glitter, then shape the wings with your fingers and just add a small amount of glue to the middle of each butterfly and place on the card,each butterfly has  Caribbean Ocean   Nuvo Crystal drops added to the centre of the bodies  and then Crystal glitter drops Aquatic Mist are added to the die cut in various places. The rest of the card is Mat & layers with a decorative strip of ribbon and a bow added.


Thank you for joining me today, be sure to pop back soon as I have more samples to share with you over the next couple of days xx.


Friday 16 March 2018

Secret stuff

Good afternoon everyone, today I would like to share a creation I made using parts of three craft kits used together I know what your all thinking  I am a rebel heehee Tonic Studios Craft kits are just amazing not only do you receive a die set in a beautiful binder to keep them safe with a stamp set but you also receive a surprise and a collection of everything you need inc cards sock ,papers embossing powders ,ink pads glitters, tools you name it these kits are very good value and are so well putt together everything colour co- ordinated so if your not great at putting colours together its made easier.

I decided to create a beautiful set of draws on legs with a card attached


You will need kit 5 - flowers
Kit 7- topper
Kit 8 for the draws
Raspberry craft perfect
Ivory craft perfect
Blossom Pink craft perfect
Craft perfect fern green
Craft perfect Gold speciality card 
Cream 300gsm base card
Nuvo clear embossing ink pad
Nuvo gold embossing poder

The card bas is just under 6x6 square in cream 300gsm you will need to make 4 matchboxes with kit 8 and then place the boxes as i have done here were 1 draw opens per side and then decorate with all the decorative dies each draw front has a little gold handle and you just shape this with your fingers and place wet glue each end of the handle then add the ivory layer  you could write on this little tab if you were keeping buttons or paperclips inside ect.

As you can see a draw opens to each side once the match boxes are glued down with wet glue just to the base of each draw you need to place another piece of card on top the same size as your base then you can place an easel card on top.
The easel card has a raspberry layer and then cut into the centre using the stunning square die from kit 7 and place the die back in so the cream just pops through .
Now you need to cut the same die again base in raspberry and detail in ivory craft perfect this is then placed on the card with 3D foam pads.
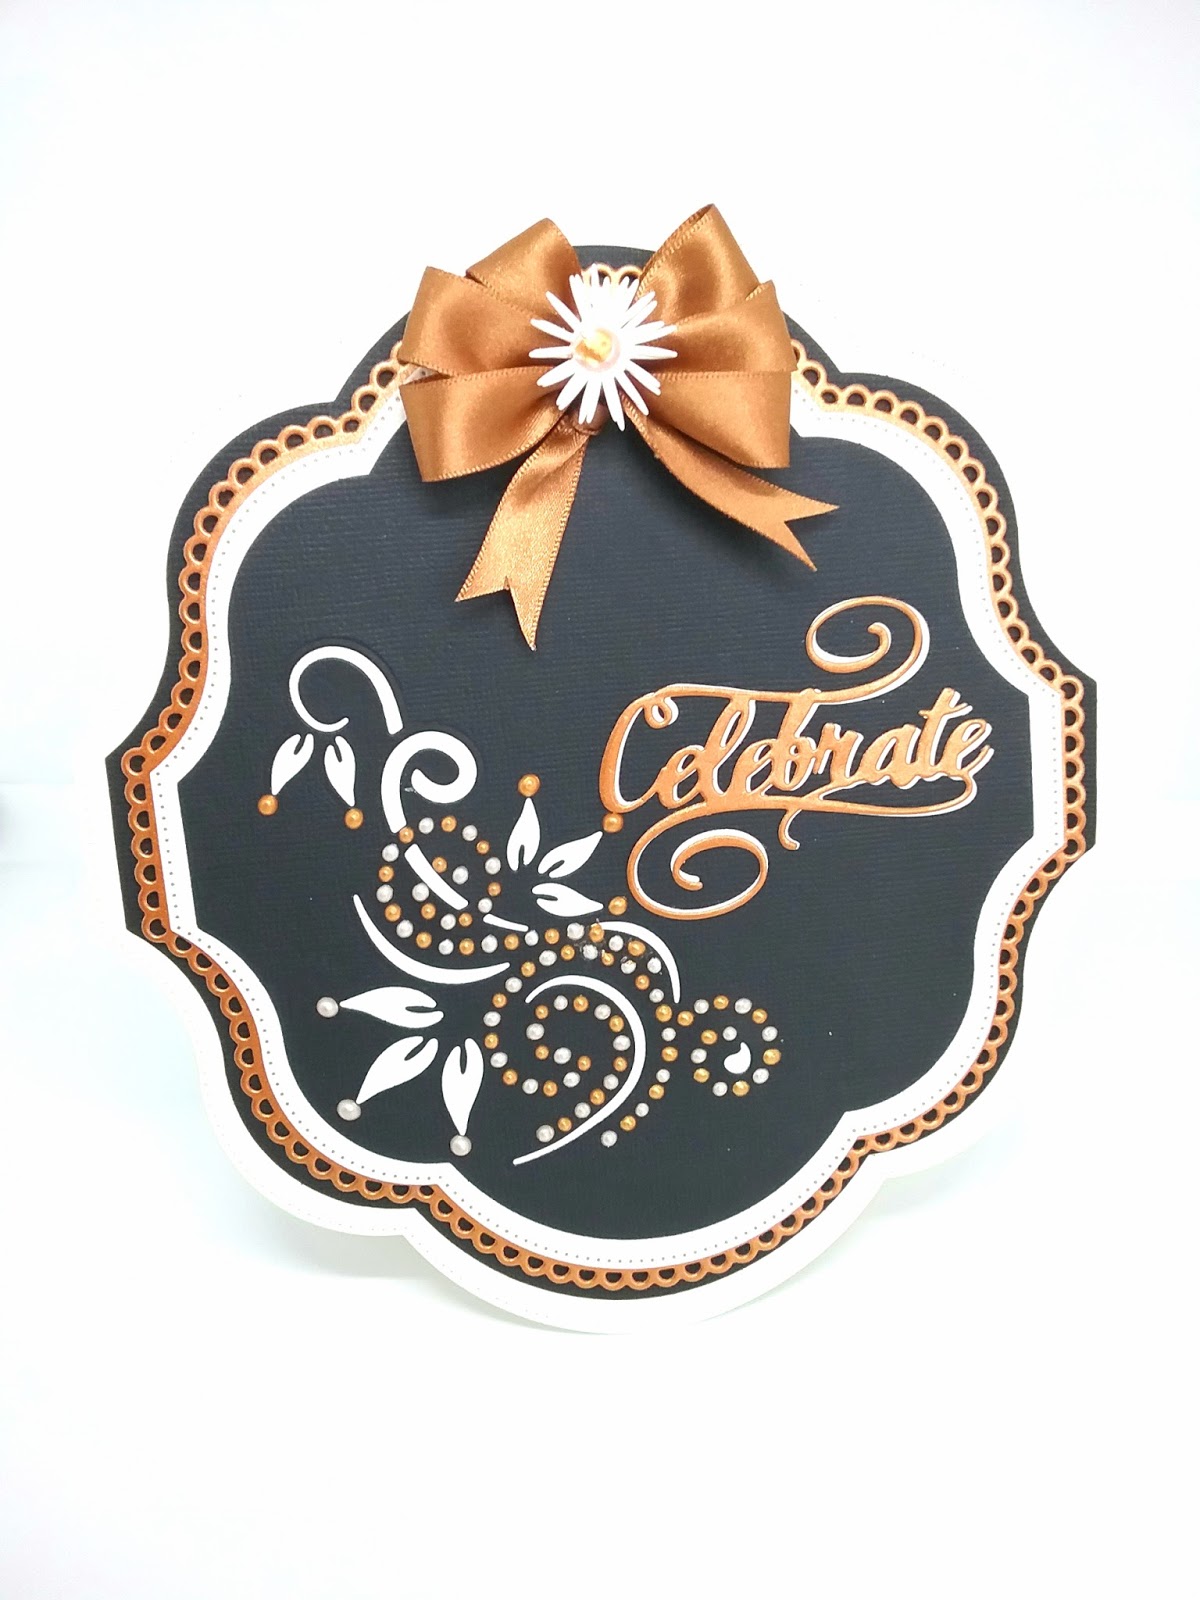
The centre of the card was cut in gold speciality and then a top layer in ivory this was also added to the card with 3D foam pads, the  sentiment was inked up with Nuvo Clear hybrid ink pad and stapmed on to smooth cream card stock then heat embossed using Nuvo gold embossing powder then added to the card.

The card was then decorated with the flowers from kit 5 in blossom pink each flower has 3 layers and shaped with Tonics flower forming kit and glued to the card with hot glue.
The stopper of the card was using the round  detail die from kit 7 and foam pads were added to form the stopper

I hope you enjoyed my creation any questions just leave me a comment and i will get back to you as soon as i can.
The set of draws has legs you need 4 strips of paper each the full length of A4 card and 1/2" wide these are curled up with a quilling tool or tweezers if you don't have a quilling tool and then hot glue was placed to each one placing them to each corner.

Have a great weekend everyone xx


Materials used :-
Craft kit 5,7 & 8
Ivory craft perfect
Craft perfect 
Base cards cream 300gsm
Gold speciality card stock

Gorgeous Nuvo drops

Good morning and welcome to my blog ,today I am sharing a couple of cards with you created for the brand new release of colours from Tonic Studios Nuvo drops. I luv Nuvo drops they just finish a card for me and add highlights to flowers ect so versatile .

Materials :-
Nuvo  Crystal drops - metalic - Auburn Pearl
Nuvo Crystal drops- metalic-Caramel Cream
Victorian layering die set
Twisting Leaves - dot and drops
Celebrate sentiment
Dots and drops flourish
Craft perfect ivory
Craft perfect Black
Craft perfect copper pearlecent
Base card cream 3oogsm


The card blank is created cutting two of the largest dies in the set and placing a score line across the back piece of card about 1inch in depth then attatching the front of the card to the tab you created then it's a matter of cutting all you mat and layers, the top layer is cut using the ever so pretty twisting leaves dot and drops die set  when you glue this piece of card stock to your card make sure you have wet glue in between the detail underneith as once you add the drops in can buckle as the drops are moist  if it's glued flat it will be perfect. Then carefully add the Nuvo drops if your not confident or have a shaky hand just add drops to every other dot and then when dry go in with another colour and add the remaining drops. You will then need to die cut the celebrate sentiment in ivory craft perfect and also the gorgeous pearlecent copper craft perfect slightly off set to create depth & dimension to your card .To finish the card add a matching  bow and a small flower.

Materials used :-
Crystal drops-Double Denim
Crystal Drops -Blue Babe
Ornate frame
Craft perfect French blue
Craft perfect smooth
White 300gsm base card
Nuvo Hybrid ink pad -Empire Blue
Nuvo Hybrid Black ink pad - Shadow
Flower from Kaleidoscope  box set
Delicate Detail stamp- Floral  Tags
Delicate Detail - Simple Sentiments stamp set
Nuvo Alcohol  pens 428,430,431,410,412,416

The card was created cutting two of the largest dies in the set and placing a score line across the back panel and adhere the front panel to the back then add the mat and layers, the back panel has some random stamping around the edge of the card & coloured with the Brand new colours in the Alcohol markers.
Then the image was stamped using  the Tim Holtz stamping platform and the Nuvo Black shadow ink pad and then the sentiment was added with the Nuvo Empire blue ink pad. The image was is coloured with the New shades in the Nuvo Alcohol  pens to get the depth I wanted I started with the lightest shade then go in with the darkest shade where you would expect to see shadow and then blend that dark line out with the mid tone it works for me but we all have our different ways of colouring. The drops were placed around the edge with both the Blue Babe and the Double Denim shade and to finish a matching blue organza ribbon was added with a spiral flower from the kaleidoscope  box die set.

Thank you for visiting my blog today

Until next time

Wednesday 7 March 2018

For you x

Good morning everyone,well who is sat on the naughty step then after the launch of the new Tonic Studios Nuvo Alchol pens ? I bet many of you but I wouldn't blame you one little bit as they are fantastic the blend of the pens in these new sets are just yummy and the colours are brilliant there are 9 sets in the new collection each set containg 3 shades which all blend and tone together.


The card is created using :-
New Nuvo Alchol markers
Ribbons and bow layering die set
Craft perfect Bright White card stock 
Jet black craft perfect card stock
Ocean blue Craft perfect card stock
Smooth white craft perfect- for stamping
Tim Holtz stamping platform
Black Nuvo ink pad
For you sentiment
Floral papers
"It girl "stamp set
Nuvo glitter drops 
Flower- kaleidoscope box

The card is created using the Ribbons and bow layering die set the base card in white and then the detail layers in  ocean blue craft perfect from my own stash pattern paper was added then the stamp was attached to the platform lid and gently tap the surface of the stamp until an even coverage is applied to the stamp then the fun begins with colouring the image I am no colouring expert I have just picked bits up as I have gone along over the yrs I start by colouring a small section at a time so the ink is still wet to blend the colours together,I start with the lightest shade then apply the darkest shade to the shaded areas on the image then I blend those dark lines out with a medium tone pen in the set. You can always go back and add more colour but not so easy if you go in very dark to begin with ,but we all have our own way to cuolour this just works best for me.
Once the image is coloured apply foam pads and place onto the card add some Nuvo glitter drops and a decorative bow with a little handmade flower from the kaleidoscope die set and the finish with a for you sentiment.

To create this card :-
New Nuvo Alchol markers
Gift tags die set
"It girl" stamps
Nuvo Black ink pad
Tim Holtz stamping platform 
Craft perfect chilli red
Craft perfect French blue
Craft perfect white smooth
Red satin ribbon & gem embellishment
Sentiment stamp from craft Kit
Patterned paper polka dot


The card was created using the tag die sets cutting  out the same size and adding a score line across the back of the back panel and then applying wet glue to the tab and placing the front panel to the back.then punch a hole through the top of the tag to thread a piece of ribbon through and tie off.
Then you will need to cut layers of tags in your chosen colours here I have gone with Chilli red and French blue to match the stamped image.these layers are  stuck down at an angle just to add a bit of a different spin on it ,again as i said before the image is stamped onto the smooth card stock as its the perfect card to use with these pens ,d apply the light colour then the darkest to the shaded areas of the image then blend out the dark line with the medium tone and you can always go back and add more colour. The image was then added to the card with foam pads and then the handbag was coloured and added to the card and then to finish the card a stamped sentiment was added from one of Tonics craft kits and then a tripple bow was added to the card with a little gem embellishment to the centre of the bow.


Don't forget to tune in to Hochanda today at 1pm & 5pm to see Paula demonstrating these fabulous markers .

Until next time xx


Tuesday 6 March 2018

Happy Birthday

Good afternoon everyone it feels ages since I last blogged but not that long ago I have been busy prepping for future launches Wow!! Is all I can say at the moment but boy your all in for a treat I can tell you that much.
Today I am sharing a card with you stamped and then coloured with Tonic Studios Brand new colours of Nuvo Alchol  pens which are launching at 6pm this evening with Paula on Hochanda.. The blend between each set is simply fabulous there are 9 sets of pens each set containg 3 pens in the most beautiful colours.The pens are designed to fit comfortably in your hand you can see the colour shade on the wider part of the pen at the side and also the lid, you have a chisel end for colouring larger spaces and then I finer end for more detail colouring .I was lucky to get to play with these pens and I didn't want to stop it has definitely ignited colouring again .
Materials used:-
Swirling frame
Lace borders
Craft perfect Bright White
Craft perfect super smooth  
Nuvo Black hybrid ink pad
Tim Holtz stamping platform
Brand new Nuvo Alchol  pens
Happy Birthday sentiment stamp from Kit 1
"It girl" stamp sets
Dark peach card stock
Light peach card stock 
Lime green card stock


The card base is created  die cutting two base panels the same size and then putting a score line across the back of the card this will give you a tab to adhere the front of the card then with the green layer you want to cut the plain panel out first and then die cut the  detail out and place this onto your card base with wet glue ,you need to cut a plain panel for the centre in craft perfect Bright White card stock and glue this flat to the card.
Then die cut the lace border in a dark peach and then again in a light peach card stock they are glued together with wet glue slightly off setting to create depth and dimension this is then glued flat to the card.
Now die cut the plain panel from the super smooth card for stamping and then with a pencil draw around the outer edge of the die onto the darker peach card this will give you a very slight border around the edge.
Now place the die cut topper into your stamping platform and place the stamp where you would like it to be stamped and bring down the platform lid make sure you have the stamp on the right side  then take the black hybrid ink to your stamp gently tapping until the surface of the stamp is covered and then stamp the image onto the card don't worry if you missed a bit just ink the stamp again and repeat now your ready to colour your image.
I am no way a professional colourist but I do love colouring I tend to lay my lightest colour down first then add the darkest shade to where the stamp indicates the colour would be darker then I go in with the mid tone and gently blend the dark line out and then go back in with the lightest shade and bled the mid tone line out you can always go back and add more colour but if you go in heavy handed you don't get the same end result.it all takes practice and I have a lot to learn myself  .
This is why I luv these packs as you have 3 different colours of their own but they all blend together to get that beautiful blended result.
Once you are happy with your coloured topper place it on the dark peach layer and place onto the card with foam pads.
The shoes were then coloured the same way and cut out free hand and added to the corner of the card.
To finish the card a decorative peach bow was added using a hot glue gun and a flower embellishment.
Don't forget Hochanda 6pm this evening with Paula

Until next time xx

Alluring Perfume Bottle gift boxes